OpenGraph images for the mere mortal programmer
You don't need Figma skills or fancy tooling. Just HTML, CSS, and a screenshot.
OpenGraph images are one of those things that matter more than they should. Share a link on Twitter or Slack without one and it looks broken. Share it with a nice preview image and suddenly your content looks professional.
The problem is that most of us aren’t designers. I can write CSS all day, but open Figma and I’m immediately lost. The enterprise solution is something like Vercel’s OG Image Generation. That’s fine if you’re already in that ecosystem, but for a static Jekyll site it’s overkill.
Here’s what I do instead: write the OG image as an HTML page, open it in a browser, and take a screenshot. It seems dumb, and I suppose it kind of is. But it works.
The template structure
An OpenGraph image is 1200x630 pixels. That’s it. You make a div that size, style it however you want, and screenshot it. Here’s the skeleton:
<!DOCTYPE html>
<html lang="en">
<head>
  <meta charset="UTF-8">
  <meta name="viewport" content="width=1200">
  <title>Open Graph Image</title>
  <link href="https://fonts.googleapis.com/css2?family=JetBrains+Mono:wght@400;700&display=swap" rel="stylesheet">
  <style>
    * {
      margin: 0;
      padding: 0;
      box-sizing: border-box;
    }

    body {
      min-height: 100vh;
      display: flex;
      align-items: center;
      justify-content: center;
      font-family: 'JetBrains Mono', monospace;
      background-color: white;
      padding: 40px;
    }

    .container {
      width: 1200px;
      height: 630px;
      background-color: #0a0f14;
      /* Your content styles here */
    }
  </style>
</head>
<body>
  <div class="container">
    <!-- Your content here -->
  </div>
</body>
</html>
The white background around the container makes it trivial to select the exact bounds when screenshotting. Retina displays will capture at 2400x1260, which is fine – platforms resize automatically.
A real example
Here’s a simplified version of our main OG template. The full version lives at
_includes/opengraph.html:
<style>
  .container {
    position: relative;
    width: 1200px;
    height: 630px;
    display: flex;
    flex-direction: column;
    background-color: #0a0f14;
    overflow: hidden;
  }

  .bg-dots {
    position: absolute;
    inset: 0;
    background-image: radial-gradient(circle, rgba(255, 255, 255, 0.04) 1px, transparent 1px);
    background-size: 24px 24px;
  }

  .content {
    position: relative;
    z-index: 1;
    display: flex;
    flex-direction: column;
    height: 100%;
    padding: 72px 88px;
  }

  h1 {
    font-size: 96px;
    font-weight: 700;
    color: #f1f5f9;
    line-height: 1.0;
    letter-spacing: -0.03em;
  }

  .accent {
    color: #1dc9d8;
  }

  .tagline {
    font-size: 32px;
    color: #64748b;
    max-width: 800px;
  }

  .footer {
    display: flex;
    justify-content: space-between;
    padding-top: 40px;
    border-top: 1px solid rgba(255, 255, 255, 0.08);
  }
</style>

<div class="container">
  <div class="bg-dots"></div>
  <div class="content">
    <div class="header">
      <!-- Logo SVG here -->
    </div>
    <div class="hero-content">
      <h1>Built for<br><span class="accent">Developers.</span></h1>
      <p class="tagline">Open source tools, technical writing, and API docs.</p>
    </div>
    <div class="footer">
      <span class="domain">builtfast.dev</span>
      <span class="github">built-fast</span>
    </div>
  </div>
</div>
The result:

A few best practices:
- Large headline – 96px minimum for the main text, anything smaller gets lost in thumbnails
- Generous padding – 72px vertical, 88px horizontal; OG images get cropped differently across platforms so keep content away from edges
- High contrast – Light text on dark backgrounds (or vice versa) remains legible at small sizes
- Limit text – A headline and one short tagline; anything more becomes unreadable
Creating variants
Once you have a base template, creating variants is just CSS. Our changelog page uses a git diff aesthetic with scattered diff lines in the background:
<style>
  .bg-diff {
    position: absolute;
    inset: 0;
    overflow: hidden;
    opacity: 0.12;
  }

  .diff-line {
    position: absolute;
    font-size: 13px;
    white-space: nowrap;
  }

  .diff-add { color: #22c55e; }
  .diff-remove { color: #ef4444; }
  .diff-meta { color: #1dc9d8; }
</style>

<div class="bg-diff">
  <div class="diff-line diff-meta" style="top: 45px; left: 140px;">
    @@ -12,7 +12,9 @@ deployment
  </div>
  <div class="diff-line diff-remove" style="top: 95px; left: 180px;">
    -  timeout: 30000
  </div>
  <div class="diff-line diff-add" style="top: 125px; left: 180px;">
    +  timeout: 60000
  </div>
  <!-- More diff lines scattered around -->
</div>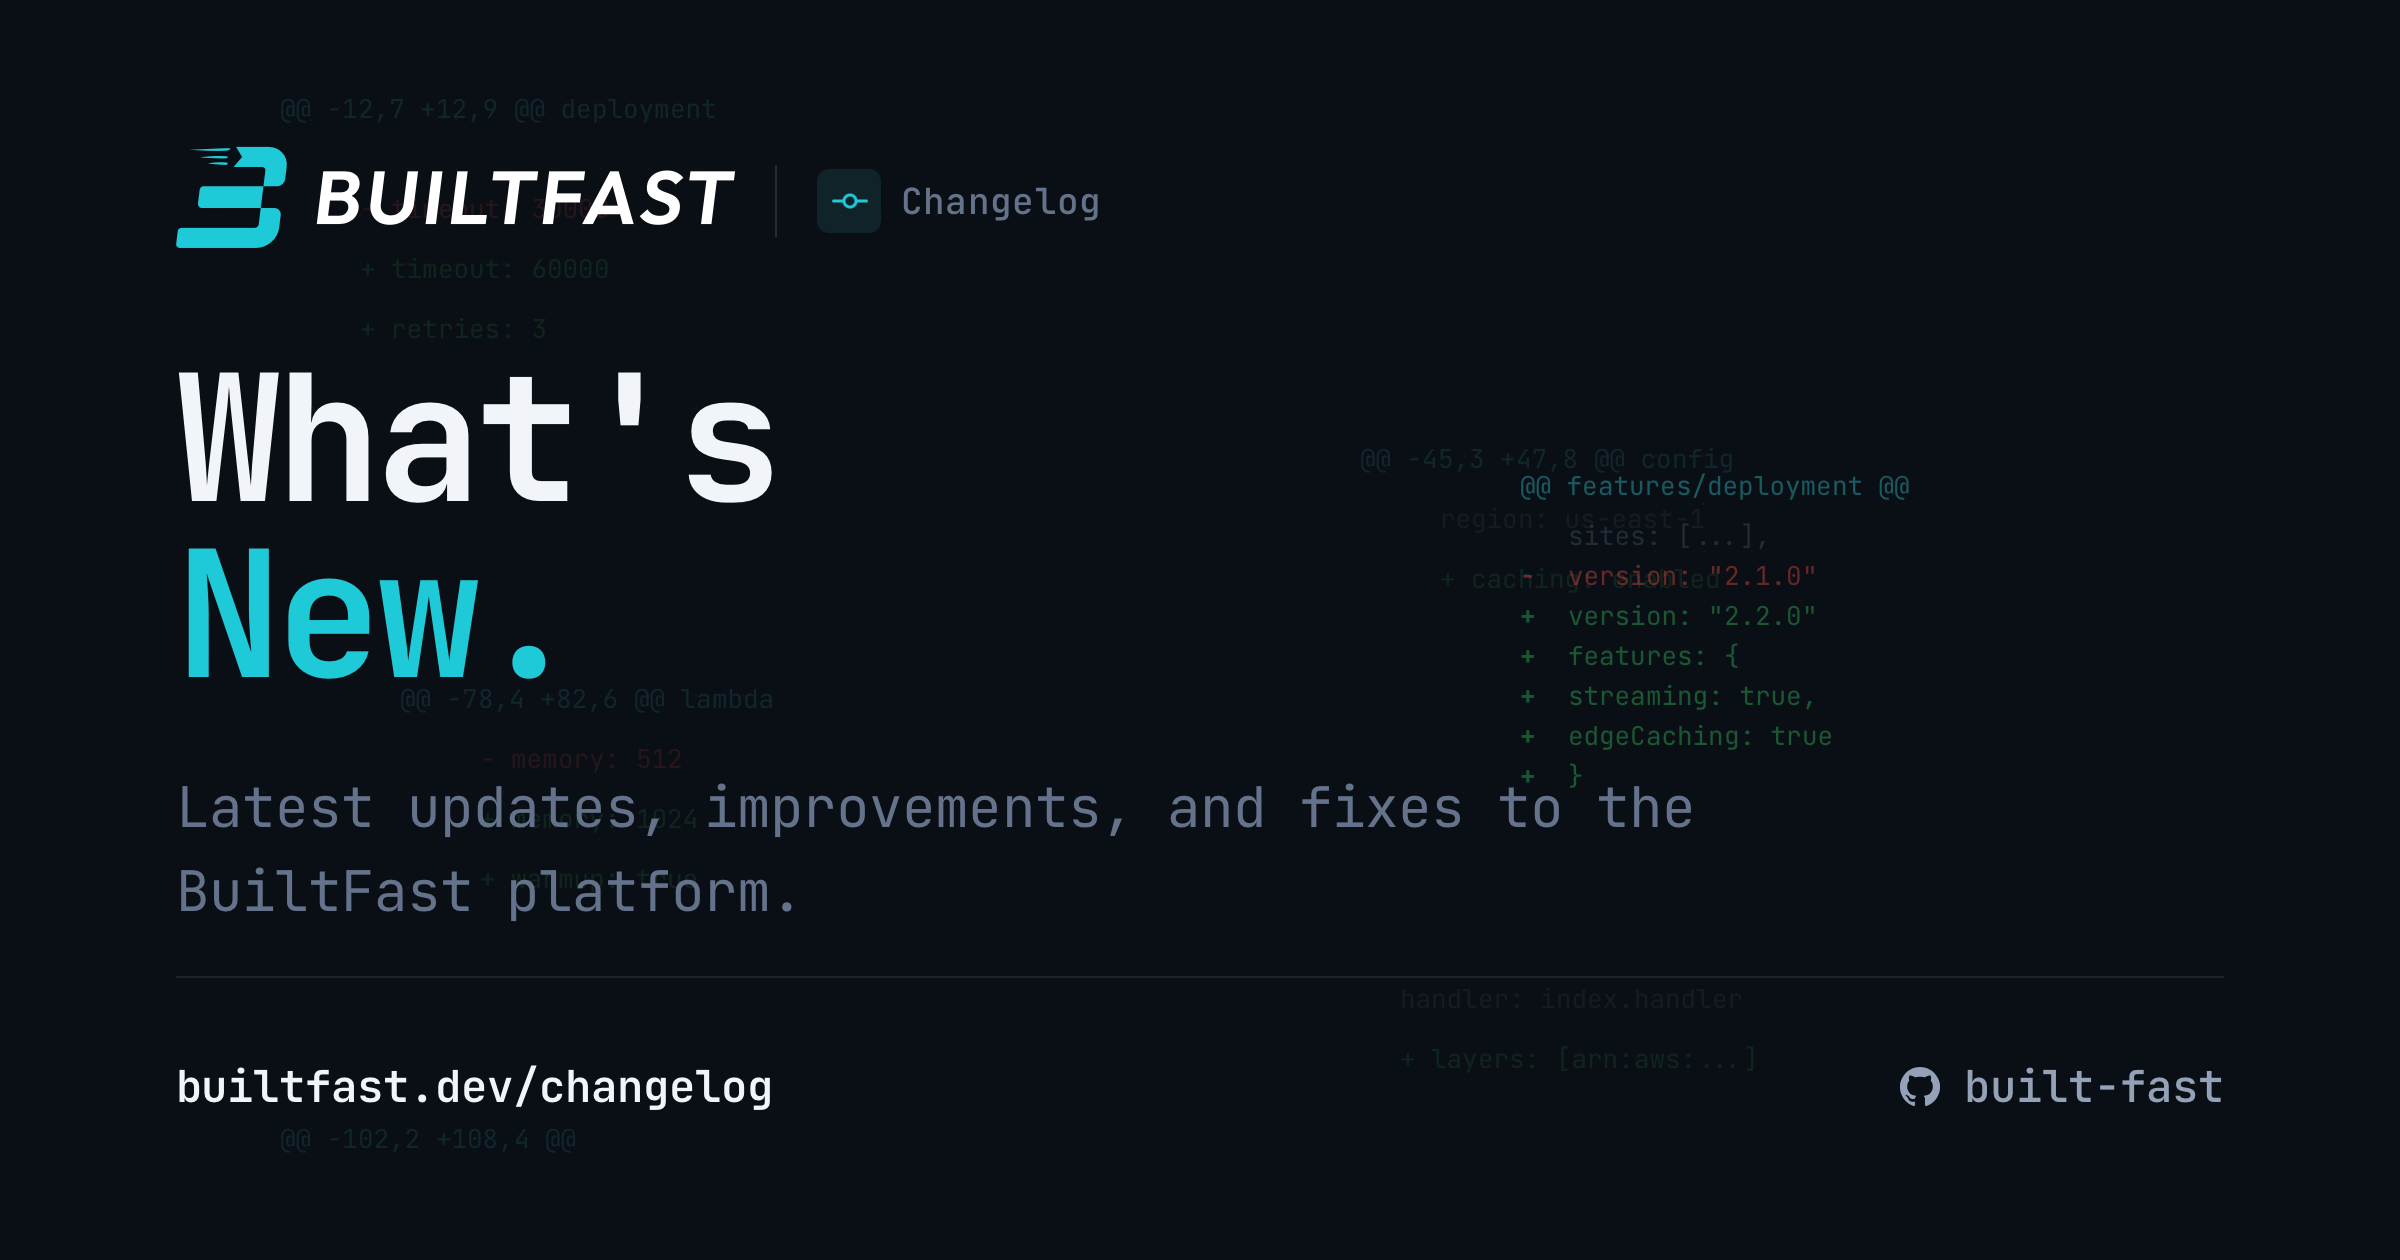
The workflow
- Open the HTML file directly in a browser:
file:///path/to/_includes/opengraph.html - Take a full-page screenshot (Cmd+Shift+3 on macOS)
- Open in Pixelmator Pro, use the selection tool on the white background, then invert selection – this gets you the exact bounds of the dark container without guessing
- Crop and save to
assets/images/opengraph.png - Reference in frontmatter if using a custom image:
---
image: /assets/images/opengraph-changelog.png
---
If you’re using Jekyll with the jekyll-seo-tag plugin, it handles all the meta
tags automatically based on your frontmatter and _config.yml defaults.
Why this works
The HTML-to-screenshot approach has a few advantages:
You already know the tools. No learning curve. If you can write CSS, you can make OG images.
Version controlled. The templates live in your repo alongside everything else. Change the design, commit it, done.
No external dependencies. No API calls, no serverless functions, no waiting for builds. The “build step” is you taking a screenshot.
Easy to iterate. Change the CSS, refresh, screenshot. The feedback loop is instant.
The downside: it’s manual and that’s a bad word around here. Every new page that needs a custom OG image means opening the template, editing the text, and taking another screenshot.
Still, definitely worth the trade-off to have the ability to make new ones
quickly. I’m dying to make script/generate-opengraph a reality, but that’s
for another day.
Our templates
The full templates for this site are on GitHub:
- opengraph.html – Default site-wide image
- opengraph-changelog.html – Changelog with git diff aesthetic
- opengraph-vector-pro.html – API documentation